THIS SITE REQUIRES JAVASCRIPT TO BE ENABLED TO BE VIEWED CORRECTLY. PLEASE ENABLE JAVASCRIPT! INSTRUCTIONS

Category Archives: Adventure Planning

Wilderness ‘survival’ skills for young children

For families who spend a lot of time in the outdoors, having a child wander off and get lost is pretty unlikely. At the same time, it’s also a very real possibility. I often wonder if/how my child would survive a night in the wilderness. Or 2 nights, or even a few hours. So I’ve been thinking about what skills would be appropriate to start learning for the average 6-11 year old, before they are of age for hardcore Boy Scout techniques.

Every outdoor child should be equipped with a few basic outdoor skills, (mostly to combat an inevitable freak out) along with a little ‘survival kit’ to keep in their backpack.

If your kids are older you can make them this more extensive survival kit. But for young kids you really can only pack what they know how and are developmentally able to use. A survival kit is something that can be built upon over time. As they get older you can add more and more items (like fire starting supplies) and teach them how to use them.

My oldest is 6, so we’re starting out with the following as a bare minimum:

Extra food
Water
Knife
Flashlight and batteries
Water purification tablets
Small signaling mirror
Whistle
Toilet Paper
Bandaids

Assuming they have these few basic tools, below are some good beginner skills to go over. The S.T.O.P. acronym (Stop. Think. Observe. Plan.) is a great place to start, and is a helpful tool for kids when it comes time to remembering what they should do.

STOP (Stay where you are)

The second your child realizes he/she is lost they should stop immediately and wait. Attach a whistle to your kids backpack, as soon as they realize they have become separated from the group tell them to start blowing that whistle like crazy.

THINK (Don’t freak out)

This is perhaps the hardest and most important wilderness survival skill to develop, especially if you’re a kid. A child however will be less likely to freak out if he/she knows what to do.

Talk to your child about how easy it will be to have a meltdown when they realize they’re lost. Then make sure they understand how important it is to stay calm, or become calm. It’s hard to think and plan unless you’re able to be rational. Try to recall everything your parents have taught you and go from there.

OBSERVE 

Look through your backpack. What do you have with you that can be of use. Whistle? Use it often. Food? Save it until you’re really hungry. Water? Save it until you’re really thirsty. Rope? That could be used for making a shelter. Knife? That might come in handy.

Also observe your surroundings. Does the place look at all familiar? Is there a good place for a shelter? Water nearby? A place where you can safely get up for a better view?

PLAN

Now what? Take time to think about what you need to do first. Ok, You’ve blown your whistle for the last 20 minutes. Now what. It’s getting late, maybe you should think about a shelter…

DRINK WATER

Water is the most important survival item you can have, it’s also a hard one for little kids, which is why I always stock my kid’s packs with plenty of water and tell them to ration it if they become lost. Your body can still function with little or no food for weeks, but it can only last a few days without water.

The problem is, unless you find yourself lost next to a water source you shouldn’t exactly wander off looking for water and get even more lost. However, if it has been a day or two and you’re still lost and out of water, it’s going to be worth it to wander off and try to find some.

The easiest thing for little kids to use and carry is water purification tablets. Make sure they have some in their pack and know how to use them. Also make sure the know when to start venturing out to find water.

FIND SHELTER

Next to having enough water, finding a shelter to protect you from the elements (either cold or hot weather) should be top priority. Take advantage of your surroundings. Rock overhangs would be ideal, but if you don’t have that, find some limbs, leaves and/or pine boughs to make a shelter. A lean-to is probably the easiest for kids. If your child is old enough to make one, it might be fun to practice out on the trail, or in your backyard. If they are still young encourage them to find a rock or a tree that they can sit next too to keep them out out of the sun/rain.

PREPARE A SIGNAL

If you’re lost in the wild surviving is, of course, your first priority. Your second should be getting yourself out of there! There are several safe and easy ways your child can make a signal.

  1. Use a mirror (If you have one) or some other shiny or metallic object.
  2. Create a signal with rocks (that contrast with the ground color). Spell out “HELP” or “SOS”, or even a big smiley face our of rocks will get noticed!  Make sure your child knows to make the letters big.
  3. If you hear a plane or helicopter get into an opening and run around and yell like a crazy person.

KNOW BASIC ANIMAL SELF DEFENSE

I would image that the #1 concern for a lost child is the prospect of being eaten by a wild animal. Or maybe that’s just my kids. While unlikely, I think your child would be a little more at ease if they knew what to do when they encountered a wild animal.

I wrote a post a while back called what to know when encountering wild animals. Take a look, pick out the animals that live in your area and go over basic information with your kids. The point is not to make them even more freaked out, just to give them some confidence in their skills should they spend a night in the woods alone. Also good skills to have even if you’re not lost.
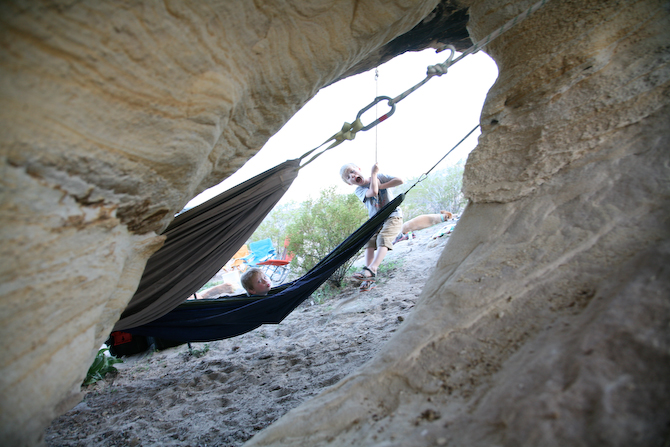
Making the perfect, transportable rope swing

We’ve started  packing our homemade hammock and our rope swing on every campout and day trip. EVERY trip. In fact I tried to get my husband to leave it home a few months ago when we were packing for a trip to the Nevada desert. “Why are you packing these? You’re never going to hang a hammock, let alone a swing in the middle of nowhere.”

I was plesantly proven wrong on both accounts.

Joe has found places for hammocks and swings in just about every campsite we’ve been in this past year. It’s been a blast for the kids, so I asked him to write up a little tutorial on how to make and hang a rope swing.

MAKING YOUR SWING:

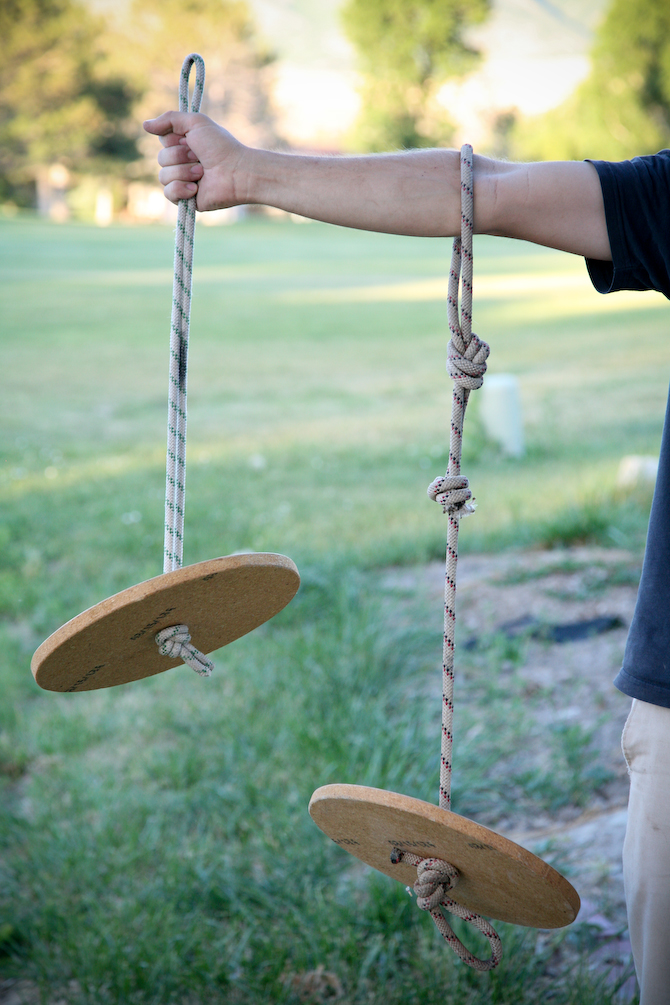
We use a disc swing as opposed to a traditional swing because it’s easier to hang. Only having one rope to hang means you don’t have to mess around with getting ropes even.

You can use pretty much any type of wood, as long as it will hold up to having someone sit on it. We’ve used 3/4 inch plywood or 3/4 inch particle board, both worked equally well.

Step 1: Trace the seat onto the wood, a 5 gallon bucket lid is the perfect size. Just set the bucket lid onto the wood and trace a circle around it

Step 2: Using a jig saw or something similar cut out the circle you just traced.

Step 3: Drill a hole in the center. There is probably a good way to find the center of the circle so you can drill a hole exactly centered in the swing but we always just eyeball it and it turns out fine. We use a 1 inch drill bit but a slightly smaller bit would probably work too, depending on the diameter of the rope you plan on using.

Step 4: (Optional) Seal the swing seat with some polyurethane or something like that.

Step 5: Attach a rope. There are two different way to do this pictured to the right.

Swing 1: Using about 6 feet of rope fold it in half, put the ends through the hole and tie a big knot.

Swing 2: Attach a short section of rope (about 3 feet) to the swing by stringing one end of the rope through the hole you just drilled.  Tie a large knot at each end of the rope. Be sure to tie a good knot that will not slip like a figure 8 or similar.

Step 6: On the other end of the rope tie a loop in the rope using a figure 8 or overhand knot (this loop will allow you to attach the swing to a fixed rope with a carabiner).

HANGING YOUR SWING:

I’ve used several types of rope and most work equally well. Static rope (without stretch) is better than dynamic rope (with stretch). In our yard we often use 1 inch tubular webbing because there is very little stretch and it sits flat against the branch so it rubbs less than most ropes.
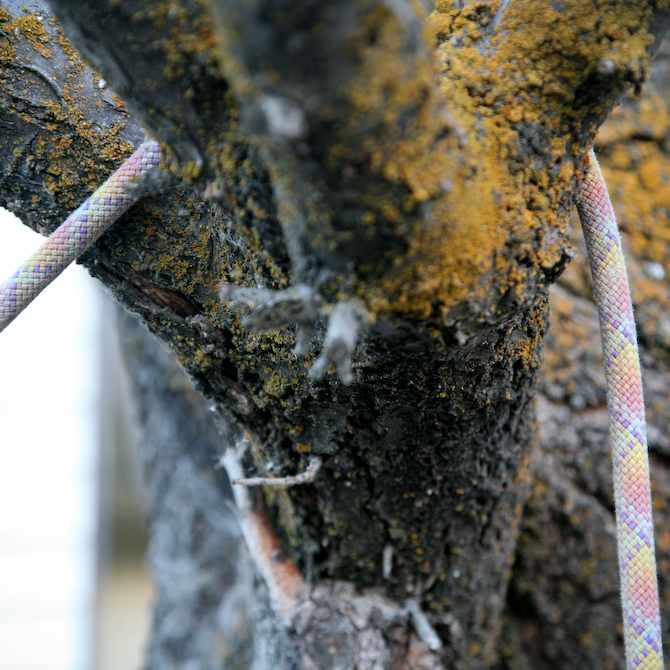
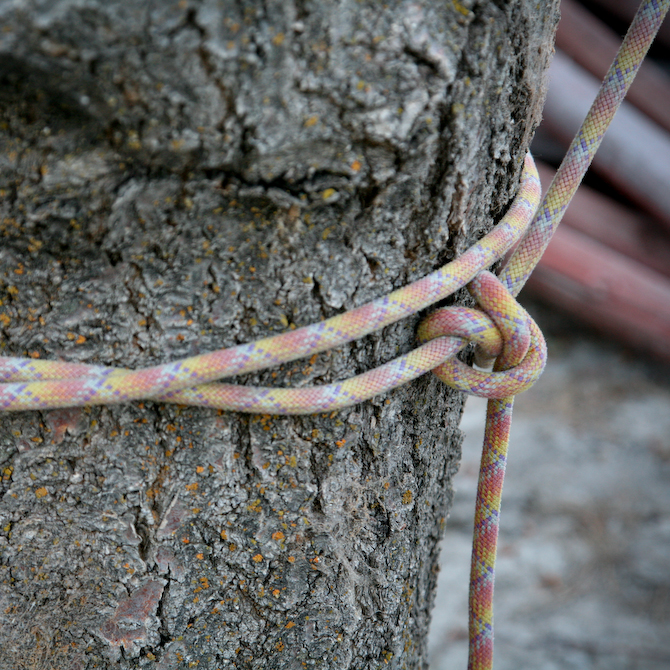
There are several ways you can get your rope up in a tree:

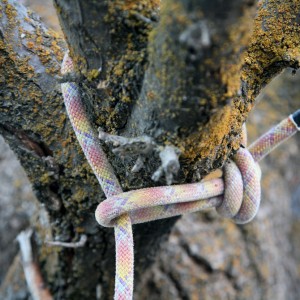
Method 1 (photo to the right): Our preferred way to hang a rope is to climb the tree and tie the rope to a branch. Tie a loop in one end of the rope with an overhand knot, hang the loop on one side of the branch with the long tail hanging on the other side. Then underneath the branch thread the long tail through the loop and pull it tight. This method seems to secure the swing and minimizes the rubbing of the rope against the branch because the pivot point of the rope is against the loop rather than against the bark of the tree.

Method 2: If you can’t climb the tree, throw one end of a long rope over a branch (photo 1 below) and secure the other end to the base of the tree (photo 2 below).  The downside of this method is you have very little control over the exact location the rope hangs on the branch, and often this method leads to a lot of rubbing of the rope on the tree. Still, it work out fine in a pinch.


Once you have your rope up take the dangling end of the rope and tie another loop with an overhand knot and secure your swing to that loop with a carabiner. Depending on how permanent you want your swing to be, you can cut the rope to a desired length or simply tie up any extra rope above the swing.

We often tie several loops at the end of our rope at various heights (like this), the highest one for adults with long legs, a lower loop for middle sized kids, and a low loop for little kids. Then we use a carabiner to attach the swing to the desired loop.

Enjoy!

Our favorite campgrounds in the Western US

Today I’m joining a a group of outdoor bloggers in listing our favorite campgrounds in the US and Canada (be sure to scroll to the bottom to see more lists of great campsites).

I’ve mentioned before that I’m not really a campground kind of girl, but every now-and-then I’ve found myself in a low key backwoods campground where I actually didn’t mind having a few neighbors and sometimes even a bathroom.  Here, in no particular order, are my favorites (in the West, where I’ve most often found myself pitching a tent).

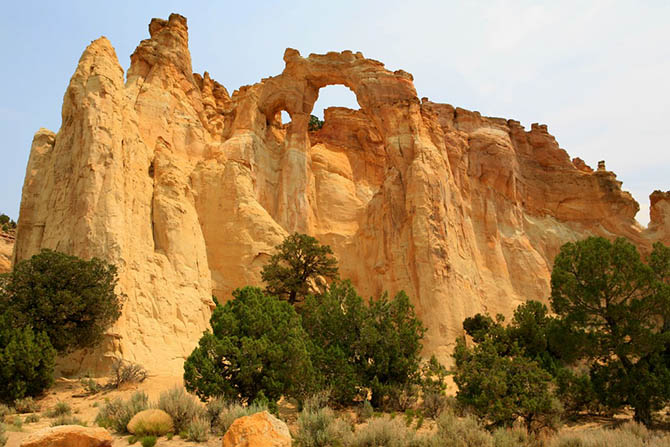
1)  Kodachrome Basin State Park. Cannonville, Utah.

Kodachrome Basin is just outside of the Grand Staircase-Escalante National Monument, and just down the road from Bryce Canyon National Park. This campground tends to be relatively quiet (as in not a lot of people). They have toilets, showers and picnic tables and quite a few trails (many of which are good for kids). It’s a small park, but very picturesque and it’s close to all sorts of amazing exploring opportunities.

2)  A Campsite near Lassen Volcanic National Park, California.

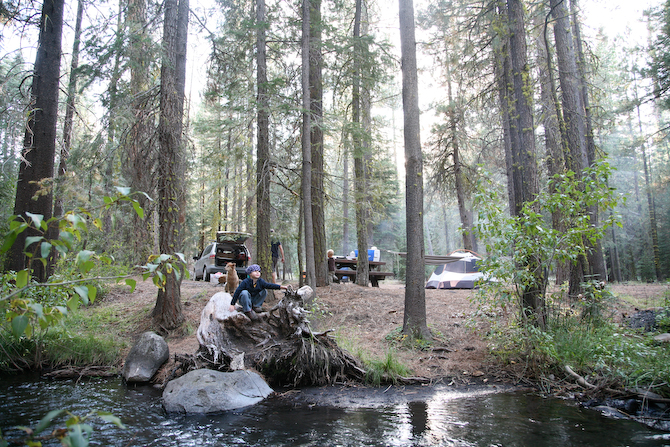
I have no clue what this the name of this campground is, but I can tell you that it’s between the Cinder Cone trail in Lassen Volcanic National Park and Highway 44. It’s a little Forest Service campground tucked away and apparently not advertised. It’s such a great little spot with big trees, a little stream running by and just a few miles outside of the park. I posted about this trip here.

3)  Coast Camp. Point Reyes National Seashore, California. (more…)

Danielle: Stand Up Paddleboarding with kids.

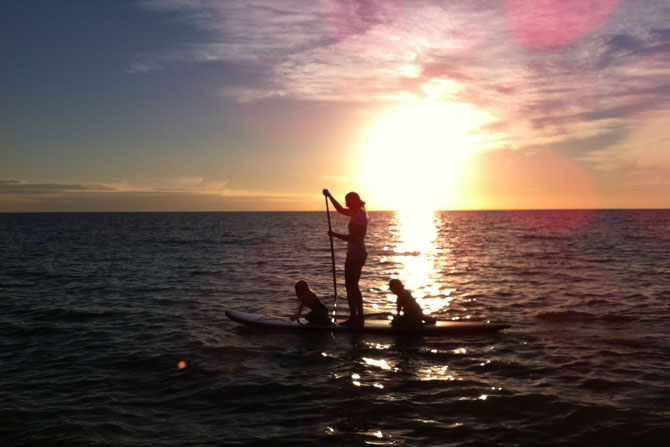
I recently moved down the street from a lake. A bonafide honset-to-goodness lake. I’ve been toying with the idea of getting into stand up paddleboarding (SUP). Preferable with my kids. So I knew just just the person to go to for advise. Danielle and her husband own Sweetwater Paddle Sports in Southwest Florida and run a SupMommys group, a class where Moms AND their kids come to learn the ways of the paddleboard.

Thanks for sharing your wisdom Danielle. Can’t wait to try this out.

How did you get into Stand Up Paddleboarding?  

I grew up in Naples, Fl (on the beach), then lived in the Virgin Islands with my husband for a few years. Being on the water has always been a part of who I am.

Three years ago my husband and I got the urge to try stand up paddleboarding since surfing is rare on the southwest coast of Fl. After a few times out on a board my husband and I decided we wanted to open our own stand up paddleboard shop, Sweetwater Paddle Sports. We’ve been open for 2 years, have been crazy busy and are now expanding!

What made you decide to start your SupMommys group?  (more…)

Find out what wildflowers are blooming in your neck of the woods

It is so close to springtime here.  The grass is mostly green.  The Fox Sparrows are back in front of the house.  Robins are perusing the lawn for tasty grubs.  The Red-tailed Hawks that live in the Cottonwood just down the road are searching the fields for voles again.  Mud Season has just about passed and I don’t have to wipe the dogs’ feet every time they come in the house.  Flowers will be unfurling their splendid banners any day now!

They may already be blooming where you are… and if you aren’t sure, there are a number of excellent websites that can keep you up to date on the blooms occurring in your neck of the woods.  Here are my favorites, arranged by region (this list is hardly comprehensive, but is a start). (more…)

Seventeen props to consider bringing when camping with kids

We always advocated that being outside is its own reward; that kids can be entertained with a minimum of ‘toys’ while in Nature’s Playground.  And while we still stand by that, it’s also true that a few simple props can greatly enhance any camping trip–especially ones that last a few days.

Here’s a list of our favorite camping gadgets.  If your kids are especially short on attentiveness, space these out over a few days for even greater enjoyment.

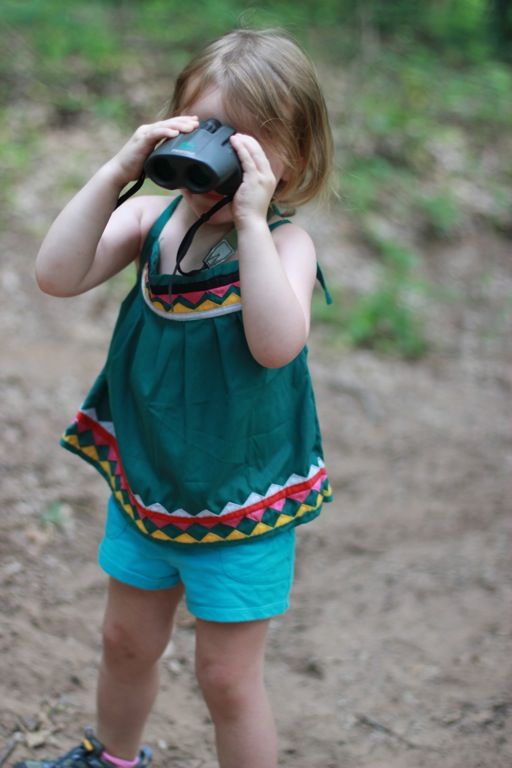
  • Binoculars  Whether it’s to view the night sky or the moon, magnify a spider (turn your binoculars upside down), or check out the birds in the trees above camp, binoculars are a great addition to any bag of camping goodies.  With adult supervision, any pair will work or you can buy your kids their own pair fairly inexpensively.  Look for ones with low magnification, wide field of view, not too heavy or consider a pair specific to kids.  I’ve been drooling over these made by Bresser.  They ship from Germany.  For older kids, invest in a pair that is durable and will last awhile (but still not too expensive).  I like these Pentax binoculars.  We wrote a post a few years back on teaching a kid how to use binoculars.
  • Whittling tools  Hours of fun, and with the added danger of a trip to the emergency room!  Just kidding… sort of.  Buy a thumb guard, or put a leather glove on the hand holding the carving wood to reduce the chance of injury.  If you want to splurge, get a beginner’s set of wood-carving tools.  Otherwise set them free with a pocket knife (there are many good pocket knives for young outdoorsmen, but I will forever be partial to Old Timer’s because it was my first).  A good beginner project is a marshmallow roasting stick.  Also fun are flutes.  You can also buy blocks of wood for beginners, or give your novice a bar of ivory soap and see what emerges. (more…)

4 Ways to Make Pizza While Camping

As I mentioned last week, it sorta felt like we were short on adults for our camping trip last week. I had a feeling this would be the case so I tried to think up really easy meals.

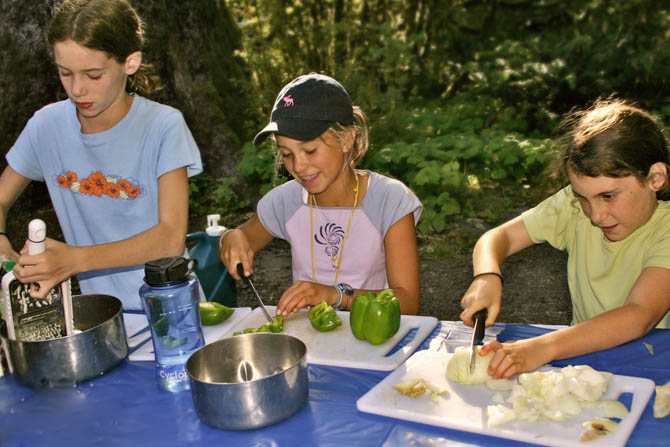
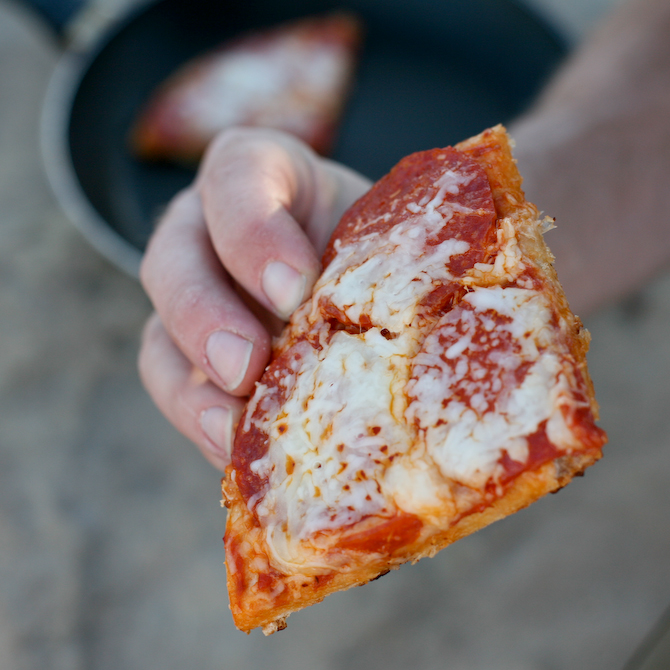
As I walked past a boboli crust display in the grocery store I got an idea… Turned out it was actually a pretty good idea.  Pizza while camping is totally a lazy man sort of meal.   Also turns out Olivia had a few more lazy-man pizza ideas to add.

All these recipes are similar in that they involve your basic pizza toppings. They differ in that there are 4 different ways you can make the crust depending on how much time you want to put into it.

First some thoughts on a few key toppings. (more…)

Planning a Backpacking Menu for Picky Eaters

Comments Off on Planning a Backpacking Menu for Picky Eaters

We’ve talked before on the blog about feeding children while backpacking. But today we have a new perspective from someone who’s dealt a lot with feeding a wide range of appetites in the backcountry. This is a guest post from Lauren Caselli, a Manhattan desk-jockey-turned-wilderness-junkie and former guide for Alpengirl Camp

Backpacking with kids and teens can be a rewarding experience. They think that every sweeping mountain vista is super rad, they have good energy, and they are surprisingly strong enough to carry most of their own weight.

But at the end of the day, when they’ve hiked miles with heavy packs in all kinds of weather, they’re still kids. They still get tired and cranky. And they definitely still hate spinach.

So what’s an outdoor mom to do when she’s got picky eaters in her tent?

Here are a few tips that I’ve learned as a guide for an all-girls adventure summer camp to keep even the pickiest of pack-carriers happy, and gives enough variety for everyone to go home and still appreciate pasta. (more…)

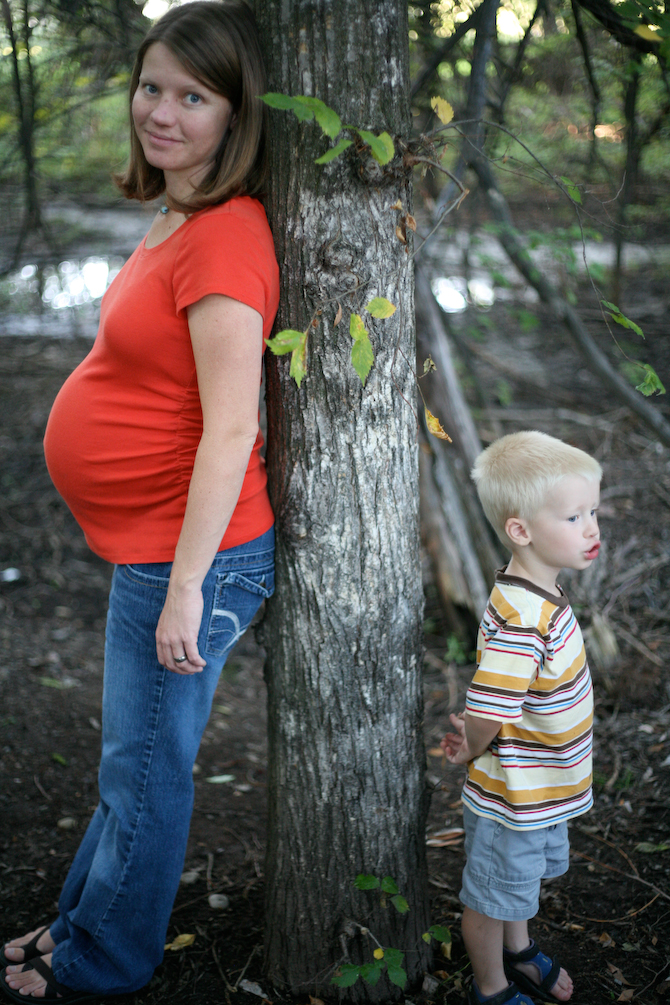
Camping while pregnant; staying comfortable without sacrificing your favorite past time.

Thaleia wrote to us the other week with the following excellent question:

Do you know of any sane pregnant women who tent camp with 3 children ages 3/9/10? Just wanting to find out :). What gear is a must have for comfort?

While we can’t relate directly to this situation, not yet having nine or ten year olds, we can definitely relate to camping, camping with kids, and camping while pregnant!  Between the two of us, these are our suggestions:

1)  Do not sacrifice comfort.  Pack heavy.  Now is not the time for lightweight backpacking or extreme camping.  Pregnant women have a hard enough time being comfortable at home, let alone in the boonies, or in a campground where the only place to sit is a picnic bench or the ground.

  • An extra thick sleeping pad is essential.  If you’ve just won the lottery, or have a rich uncle to help, get a Paco Pad–the luxurious sleeping pads used by river runners who seldom worry about bulk and weight.  Slightly cheaper but also nice is a Big Agnes pad–also bulky, but they combine air chambers with insulation for extra padding… they may even have ones now with padding especially for women with hips.  And if you don’t want to spend that kind of dough either, consider a plain old air mattress.  You may even find  that an air mattress is more comfortable than your bed, depending on the relative squishiness of both!  Three notes:  it will never ever ever fold up as small as when you bought it, and don’t let the dog even sniff at it or it will develop a hole, and finally read the note below about mummy bags–air mattresses can suck the heat out of you!.  Also nice is one of those egg-carton foam pads if you can get your hands on one… or put all three together and sleep like a Princess. (more…)

The next best thing to granola bars: home-made snack bars!

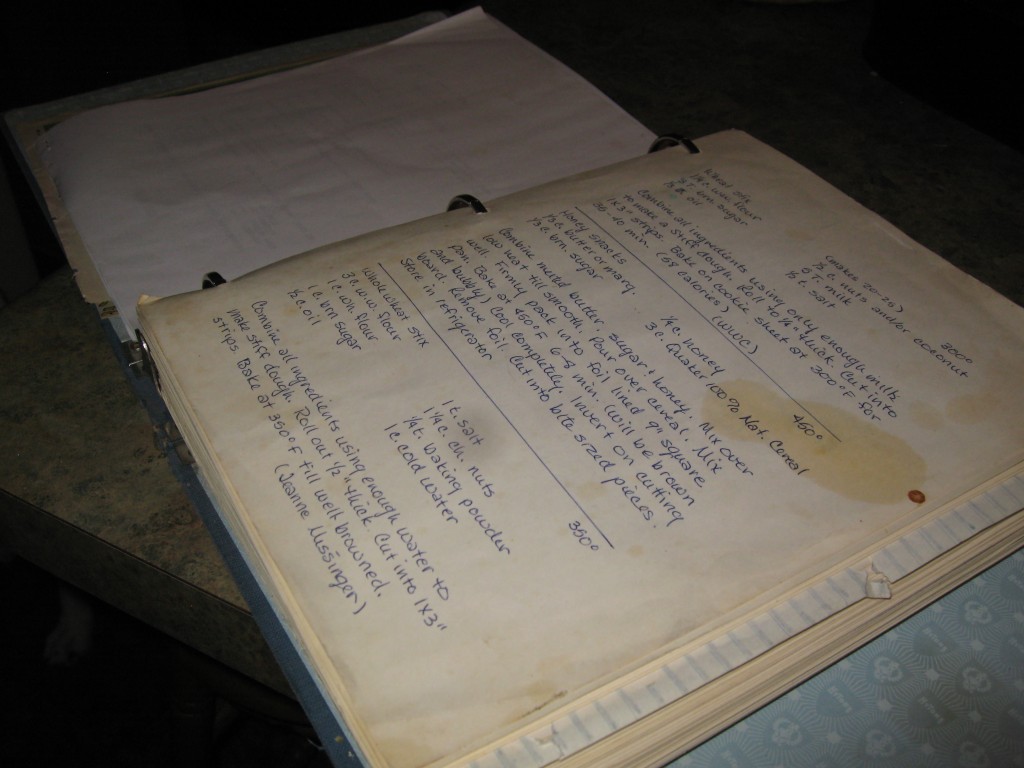
We’ve talked on this site before about making the perfect granola bar.  (We are still looking for good recipes, by the way!)  While these aren’t technically granola bars, they are pretty darned good!  My mom has been making these ‘bread sticks’ for years.  They’re wonderfully filling and so easy to make, but (even better), they’re also incredibly versatile.

What you’ll need:

1)  5 cups of various flours:  white flour, whole-wheat flour, oats, flax seed, millet, whatever suits your fancy.  The whole wheat makes them denser, the flax seed gave it a slightly nutty taste (which I liked).  Try your own combination and see what you like best!  This weekend we made them with 2 cups each of white and whole-wheat flour, 1 cup of oats, and a few tablespoons of flax seed. (more…)

  • WELCOME

    I'm Lindsey. I'm an environmental educator, my husband's a biologist. The outdoors is infused into everything we do; which explains why I'm better at mud pies than home decorating. More About Me

    I don't blog alone! Meet outsidemom contributer Olivia
  • KEEP IN TOUCH

  • PROUD TO SUPPORT

  • ACCESS ARCHIVES