Making the perfect, transportable rope swing
We’ve started packing our homemade hammock and our rope swing on every campout and day trip. EVERY trip. In fact I tried to get my husband to leave it home a few months ago when we were packing for a trip to the Nevada desert. “Why are you packing these? You’re never going to hang a hammock, let alone a swing in the middle of nowhere.”
I was plesantly proven wrong on both accounts.
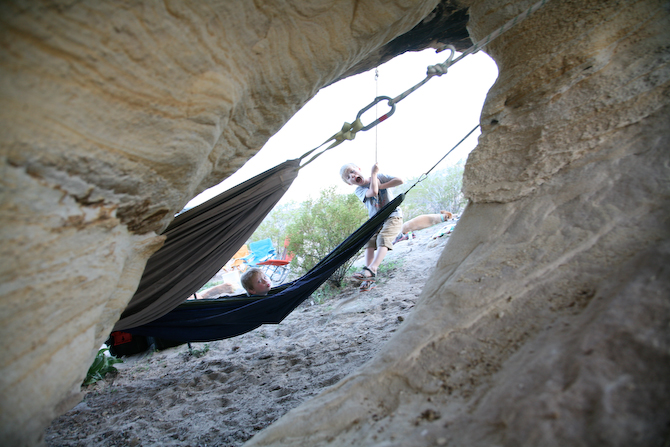
Joe has found places for hammocks and swings in just about every campsite we’ve been in this past year. It’s been a blast for the kids, so I asked him to write up a little tutorial on how to make and hang a rope swing.
MAKING YOUR SWING:
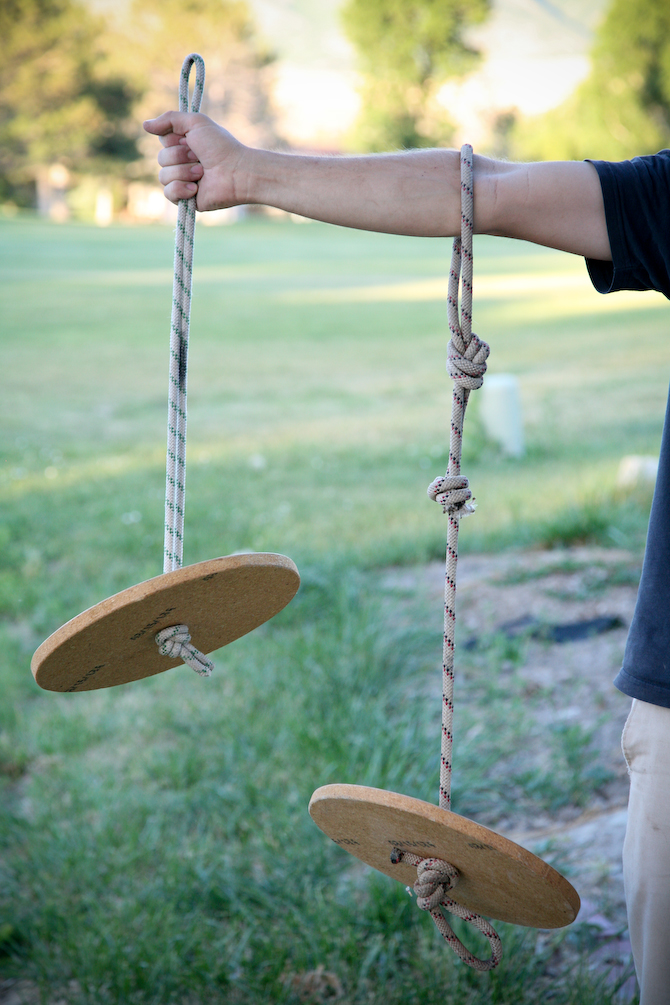
We use a disc swing as opposed to a traditional swing because it’s easier to hang. Only having one rope to hang means you don’t have to mess around with getting ropes even.
You can use pretty much any type of wood, as long as it will hold up to having someone sit on it. We’ve used 3/4 inch plywood or 3/4 inch particle board, both worked equally well.
Step 1: Trace the seat onto the wood, a 5 gallon bucket lid is the perfect size. Just set the bucket lid onto the wood and trace a circle around it
Step 2: Using a jig saw or something similar cut out the circle you just traced.
Step 3: Drill a hole in the center. There is probably a good way to find the center of the circle so you can drill a hole exactly centered in the swing but we always just eyeball it and it turns out fine. We use a 1 inch drill bit but a slightly smaller bit would probably work too, depending on the diameter of the rope you plan on using.
Step 4: (Optional) Seal the swing seat with some polyurethane or something like that.
Step 5: Attach a rope. There are two different way to do this pictured to the right.
Swing 1: Using about 6 feet of rope fold it in half, put the ends through the hole and tie a big knot.
Swing 2: Attach a short section of rope (about 3 feet) to the swing by stringing one end of the rope through the hole you just drilled. Tie a large knot at each end of the rope. Be sure to tie a good knot that will not slip like a figure 8 or similar.
Step 6: On the other end of the rope tie a loop in the rope using a figure 8 or overhand knot (this loop will allow you to attach the swing to a fixed rope with a carabiner).
HANGING YOUR SWING:
 I’ve used several types of rope and most work equally well. Static rope (without stretch) is better than dynamic rope (with stretch). In our yard we often use 1 inch tubular webbing because there is very little stretch and it sits flat against the branch so it rubbs less than most ropes.
There are several ways you can get your rope up in a tree:
Method 1 (photo to the right): Our preferred way to hang a rope is to climb the tree and tie the rope to a branch. Tie a loop in one end of the rope with an overhand knot, hang the loop on one side of the branch with the long tail hanging on the other side. Then underneath the branch thread the long tail through the loop and pull it tight. This method seems to secure the swing and minimizes the rubbing of the rope against the branch because the pivot point of the rope is against the loop rather than against the bark of the tree.
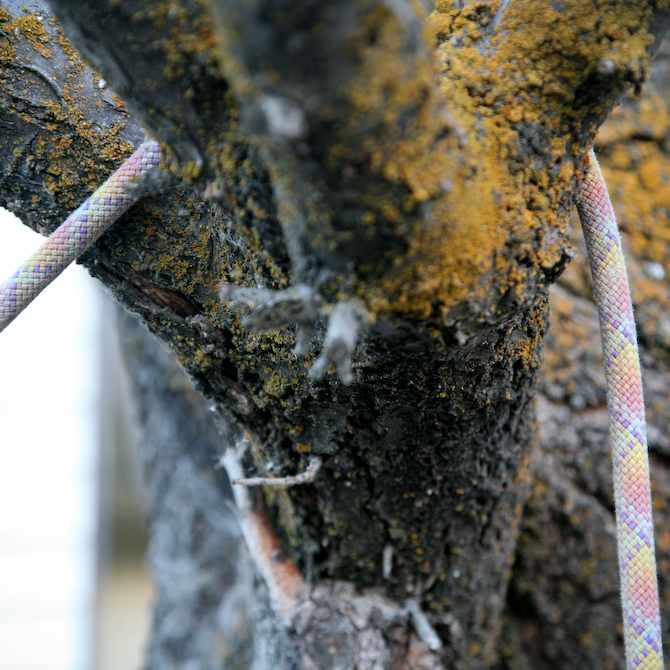
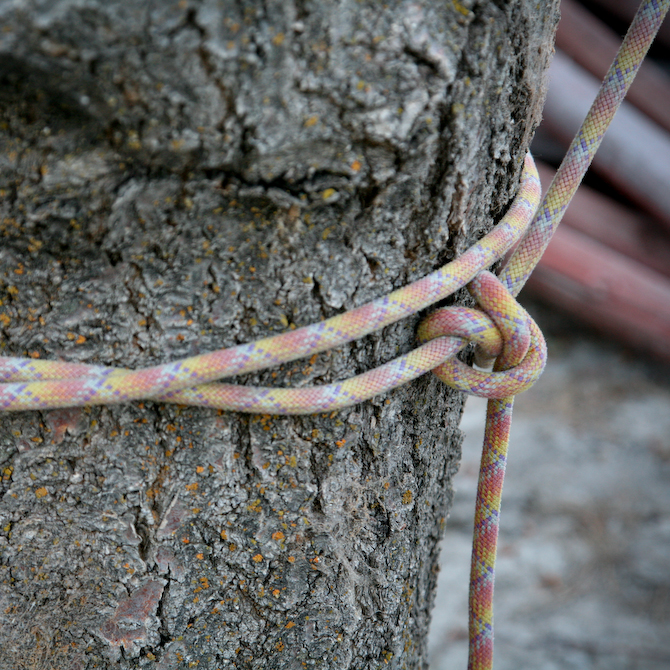
Method 2: If you can’t climb the tree, throw one end of a long rope over a branch (photo 1 below) and secure the other end to the base of the tree (photo 2 below). The downside of this method is you have very little control over the exact location the rope hangs on the branch, and often this method leads to a lot of rubbing of the rope on the tree. Still, it work out fine in a pinch.
Once you have your rope up take the dangling end of the rope and tie another loop with an overhand knot and secure your swing to that loop with a carabiner. Depending on how permanent you want your swing to be, you can cut the rope to a desired length or simply tie up any extra rope above the swing.
We often tie several loops at the end of our rope at various heights (like this), the highest one for adults with long legs, a lower loop for middle sized kids, and a low loop for little kids. Then we use a carabiner to attach the swing to the desired loop.
Enjoy!
